Final Stages of a Portrait Painting — Nigredo
- 1 | What pigments will I need for painting a portrait?
- 2 | Should you add chalk to your oil paint?
- 3 | How do you mix colours for the Verdaccio?
- 4 | How many stages do you need for a portrait painting in oils?
Here are the final stages of a self-portrait painting I called ‘Nigredo’ (or the crucifixion). Using my own oil paints, I show a quick summary of the various stages of the portrait, beginning with the Verdaccio.
If you missed the first part of this series, where I begin with the charcoal drawing and underpainting stages, check out Underpainting Stage for a Self-Portrait.
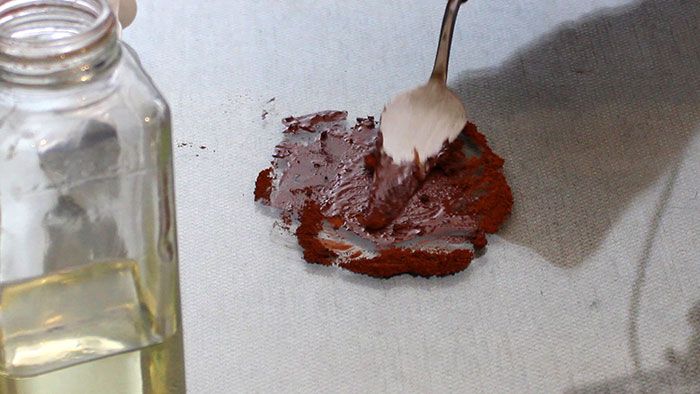
To continue from where I left off last time, the first underpainting layer with transparent bloodstone has dried and I begin by mulling some of the pigments I’ll need for this painting session, namely the Verdaccio stage.
What pigments will I need for painting a portrait?
• Titanium white (or lead white).
• Bone black (or ivory black).
• Yellow/gold ochre (or raw sienna).
• Orange oxide (or burnt sienna, orange ochre)
• Red ochre (or Venetian red, English red, Indian red)
• Brown oxide (or raw/burnt umber or mars brown).
Currently, my paintings contain all my own hand-made pigments. I hand-refine my own linseed oil too.
I usually prefer a limited, ‘natural’ palette when painting flesh tones. The basic earth colours, plus black and white, can produce very beautiful results. Colour harmonies are easier to balance and more subtle.
I make a transparent orange oxide by collecting iron (III) oxide, also known as rust, from a steel baking tin which I allowed water to evaporate from. Commercial pigment substitutes could be burnt sienna or an orange ochre.
I make a transparent gold or yellow ochre from naturally occurring limonite, as well as a beautiful red ochre from natural iron oxide.
Brown can be made in a number of ways. In this case, I used hydrated bloodstone pigment (containing a lot of iron-rich hematite allowed to oxidise in an aqueous environment). But you can also use mars brown, or burnt umber.
Bone black I make from bones that have been calcined in a fire for 10 hours. But you can use commercially available ‘ivory black’ (which contains no ivory actually).
And titanium white is basic titanium dioxide cut with a little calcium carbonate for better stability and film strength.
I then make a chalk/oil ‘putty’ medium for when I might need it. It’s pretty easy to do. Just check out the video above.

Should you add chalk to your oil paint?
It depends. Chalk is nearly colourless in an oil binder.
Most commercial paint manufacturers add chalk as a filler to their paints anyway. And while you can go ahead and experiment with adding more chalk to commercial paint if you want to, it makes more sense to experiment with your own pigments.
Because you have no way of knowing how much chalk has already been added to commercial artist paint (or other ingredients for that matter).
There’s no real need to mess with commercially available paints since, in most of the better brands, they usually work pretty well straight from the tube anyway.
Having said that, you can add chalk or make a chalk ‘putty’ medium when you want to:
• Make the paint thicker or create more impasto.
• Have more texture in the paint film, or show more textured brushwork.
• Increase the transparency of certain pigments (e.g. titanium white).
• Increase the value (lightness) of a colour without sacrificing too much chroma (saturation). White tends to kill chroma and dull colours, making them colder.
• Increase drying time.
• Mitigate yellowing of paint in linseed oil.
• Strengthen the paint film.
• Neutralise acidity of linseed oil.
Many of the Old Masters such as Rembrandt or Rubens commonly mixed chalk with their paints. They knew all the rheological possibilities when using their own linseed oil and chalk mediums.
Be careful if you do decide to use chalk and make sure it’s proper calcium carbonate or calcite (CaCO₃). Not limestone, quick lime (calcium oxide). Not talc either (Mg3Si4O10(OH)2). See more info on chalk putty on Tad Spurgeon’s site.
For my underpainting and verdaccio stages, I mixed up a bit of chalk putty to lighten the value of certain colours and make these colour mixes more transparent.

How do you mix colours for the Verdaccio?
One part black to two parts of yellow ochre is the traditional colour mix of the verdaccio, according to Cennino Cennini, resulting in an olive green.
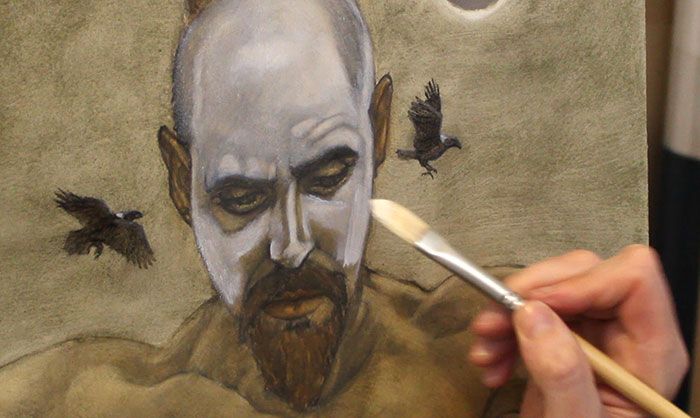
The verdaccio is thus a transparent, greenish underpainting stage — as a cool halftone to counterbalance the warm flesh tones painted on top. And this results in more realistic colour harmonies and convincing-looking skin.
For my verdaccio colour mix, I simply used bloodstone or bone black and orange iron oxide which I lightened with chalk putty.
To go more in-depth on the traditional and practical application of the verdaccio, see Painting the Verdaccio.
How many stages do you need for a portrait painting in oils?
For this portrait painting I had 12 stages:
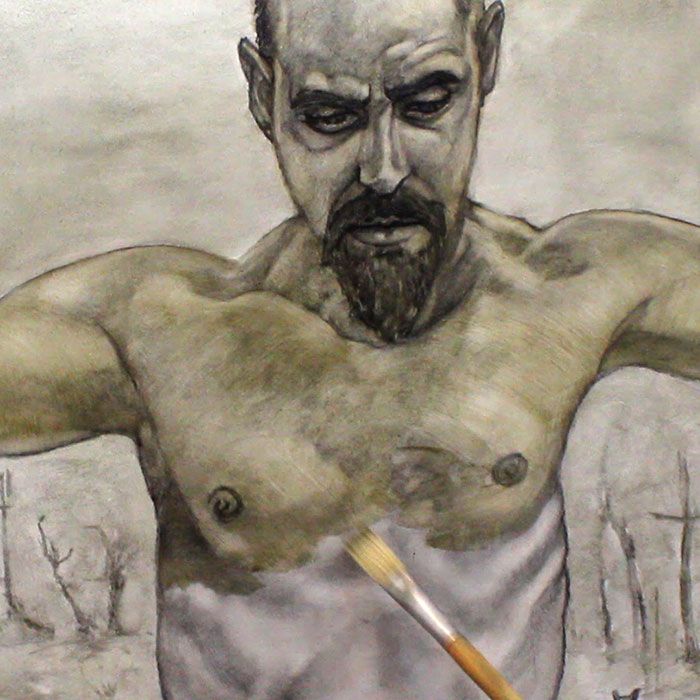
1. The charcoal drawing.
2. ‘Inking the lines’ and first underpainting stage with transparent dark paint (I used ‘bloodstone black’), no white.
3. Verdaccio stage.
4. Warm underpainting stage with warm greys and earth tones.
5. White layer/dead layer or ‘grisaille’.
6. First colour layer or ‘flesh tone’ layer
7. Second colour layer.
8. Highlights.
9. Third colour layer glazing.
10. Glazing darks and shadow areas.
11. Second glazing of darks.
12. Final touches and subtle tweaks.

This painting was quite a hectic one for me. To read more about some of the ideas I had percolating in my head while working on it, go to Thinking Through the Nigredo – The Union of Darkness and Light.
Thanks a lot for reading. If you missed something, please check out the video, and if you have any questions or need more information, please comment below or email me.
Check out my latest series of works The Sirens.

- What’s the Point of Creating When No One Cares? - 24th August 2025
- Fantasia No.6 in G minor (The Cockatrice) - 3rd May 2025
- Rebirth: Starting Over as an Artist — Part 1 - 17th April 2025
Damian, I just love watching you work. When you covered in the white I thought you’d stuffed up 😅. Then you covered in darker colours again. I thought you couldn’t make your mind up. But at the end I got it. The layers make it perfect. Perfect process. A beauty.
Also love the comments you make.
Tons of love
Yor biggest fan
Aunty Brenda
❤
Thanks Aunty Brenda. I’m not sure if you received all my replies. Had issues with my comment section.
Love Damian.
Damian! Thank you for sharing the whole process of producing Nigredo.
I found the production of the different paints fascinating! Then watching as layer upon layer was added to develop the complexity of depth of colour and form, remarkable and a real eye-opener. In several places, I thought ‘that’s it, complete’, but you intended more!
Well done, brilliant!
With respect,
Lesley Watson
Thanks Lesley, for your lovely compliments. Sorry if this is a late reply. I didn’t know I had issues with my website’s comment section.
Thanks dear Damian,
I really relate to Nigredo, as you saw in the Dark Man. An initiation. Learning Self Trust. needs huge courage. Thank you for STAYING TRUE TO YOURSELF. Despite all the confusion and heart battering .Going to the essence………
I have been using your watercolour pigments and just the sensual feeling of using local substances is awesome.
Much love
Jana
Thanks Jana. I’ll be making more watercolours soon. Do you know anyone who might order some?